Quickstart
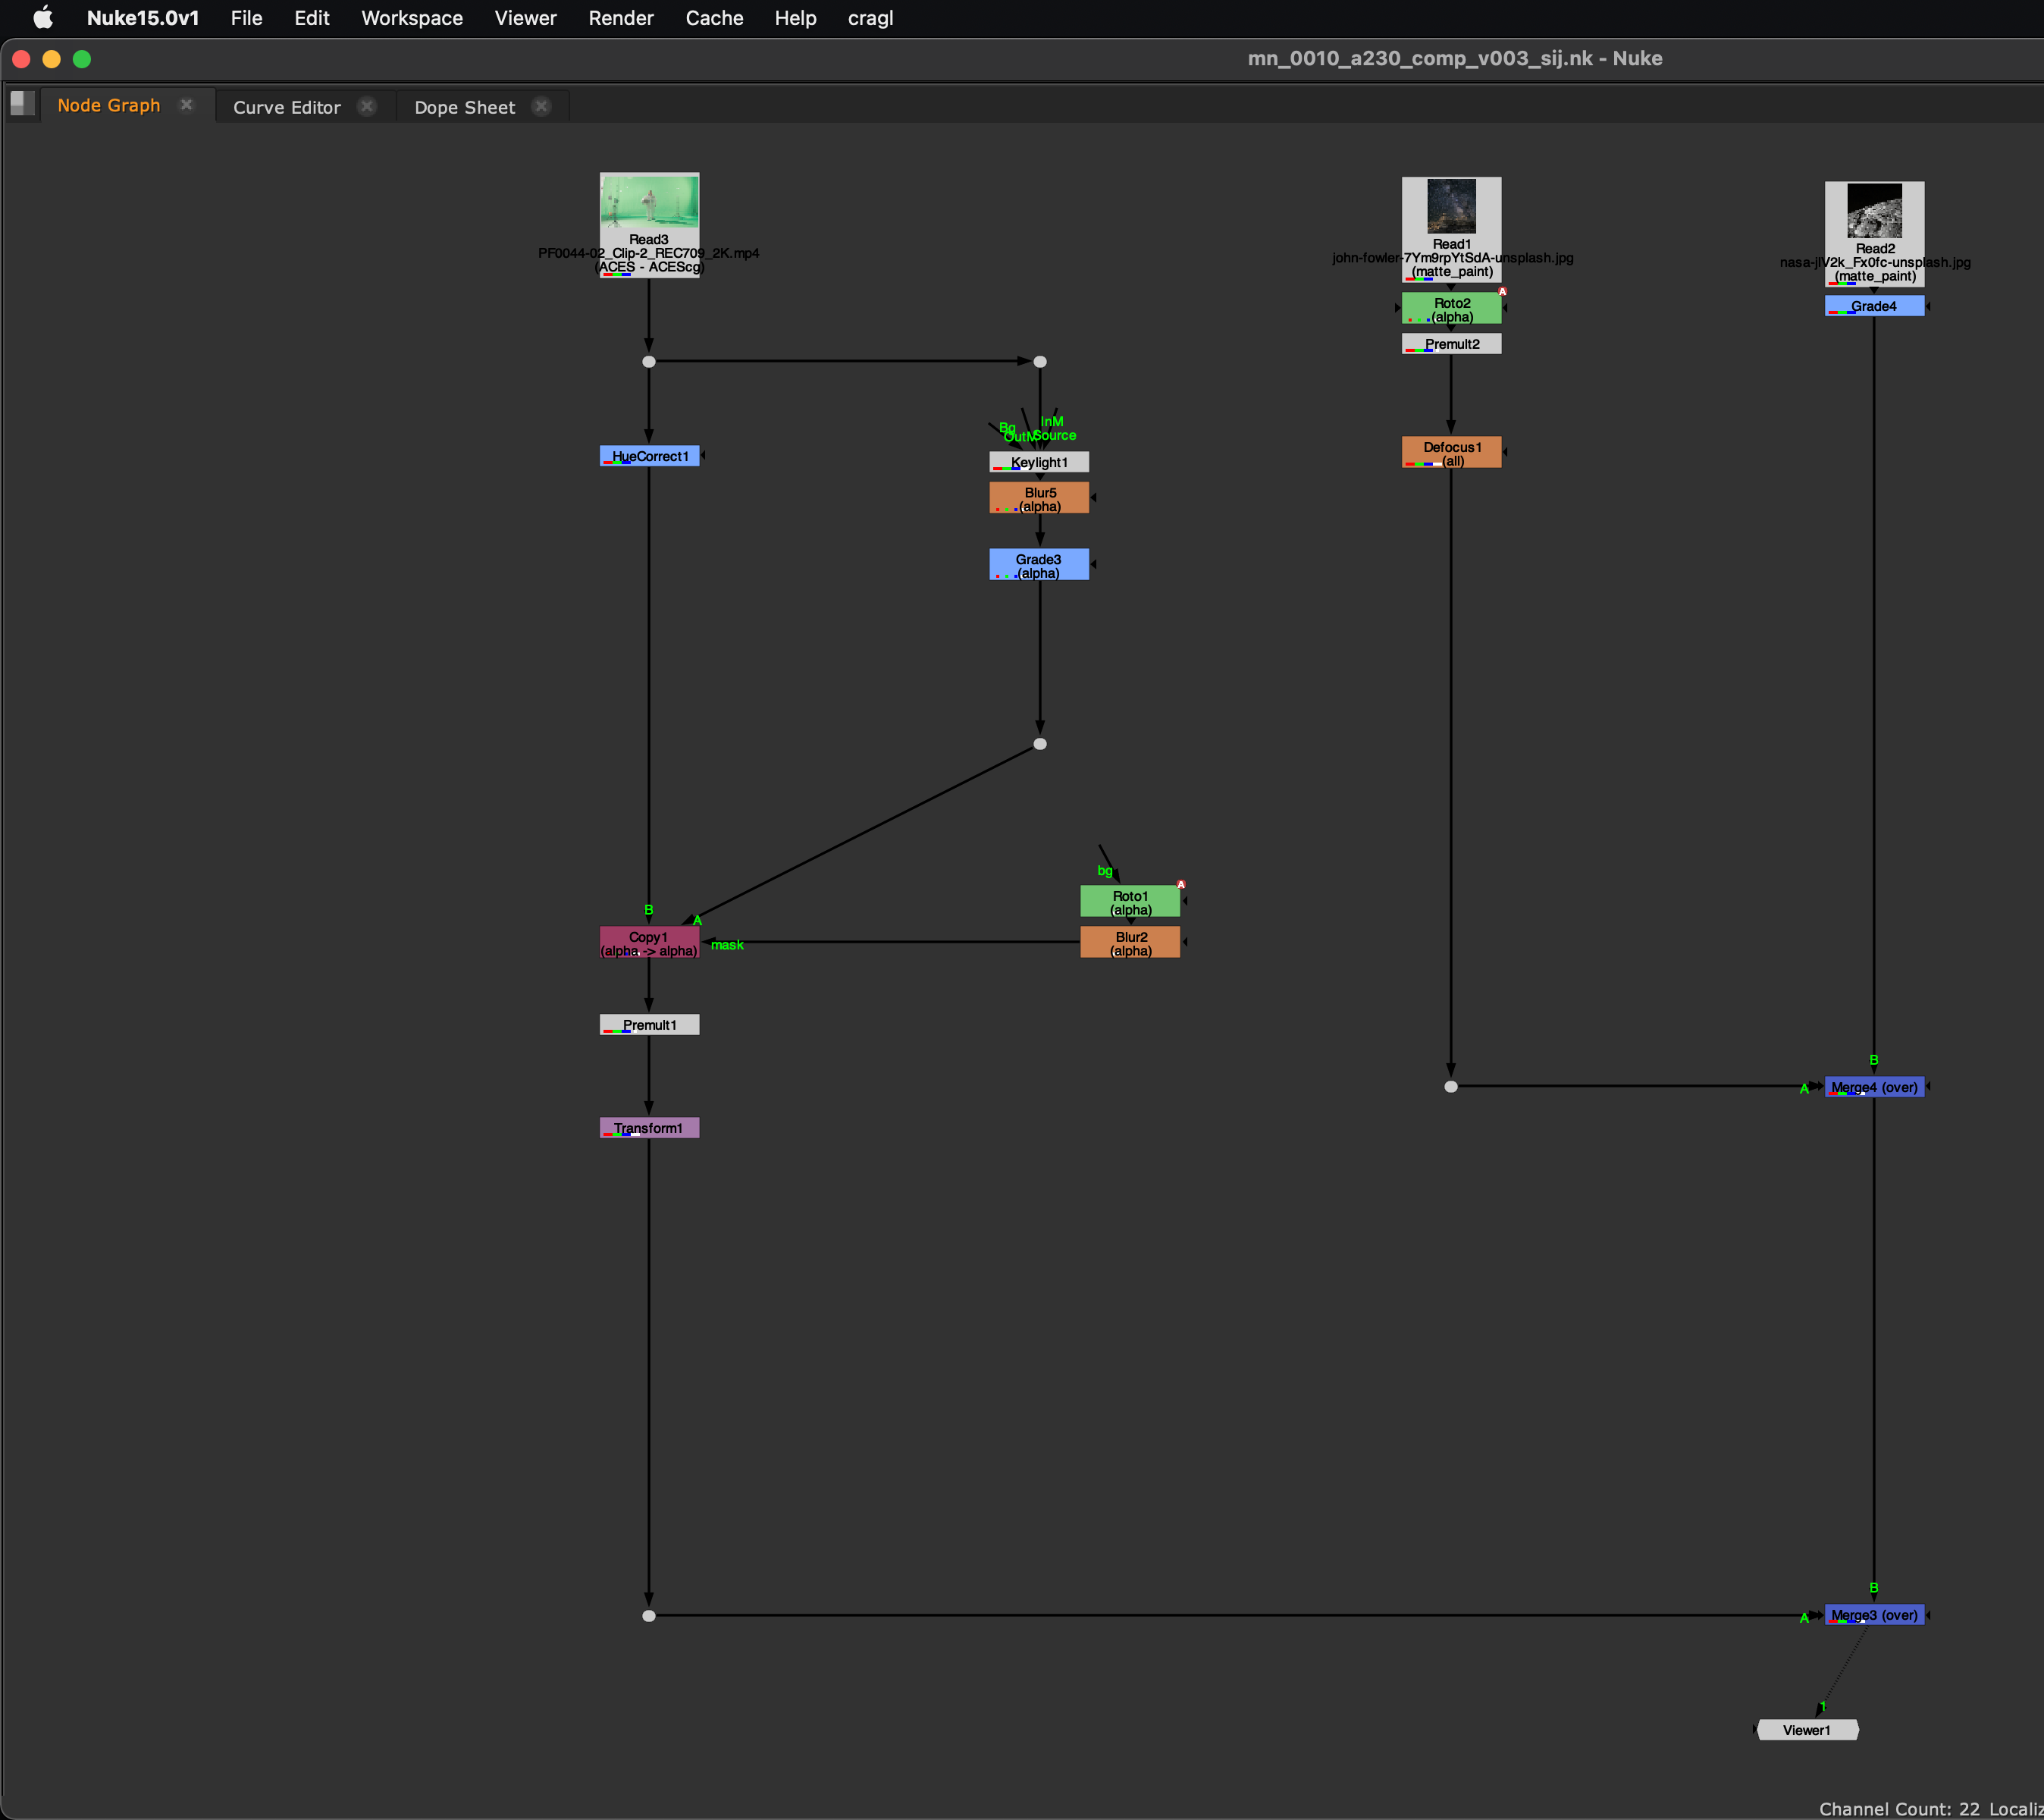
Let’s see how smartCache works. For that let’s have a look at a simple working file that has a P-Pipe workflow and pipes two elements into its stream.
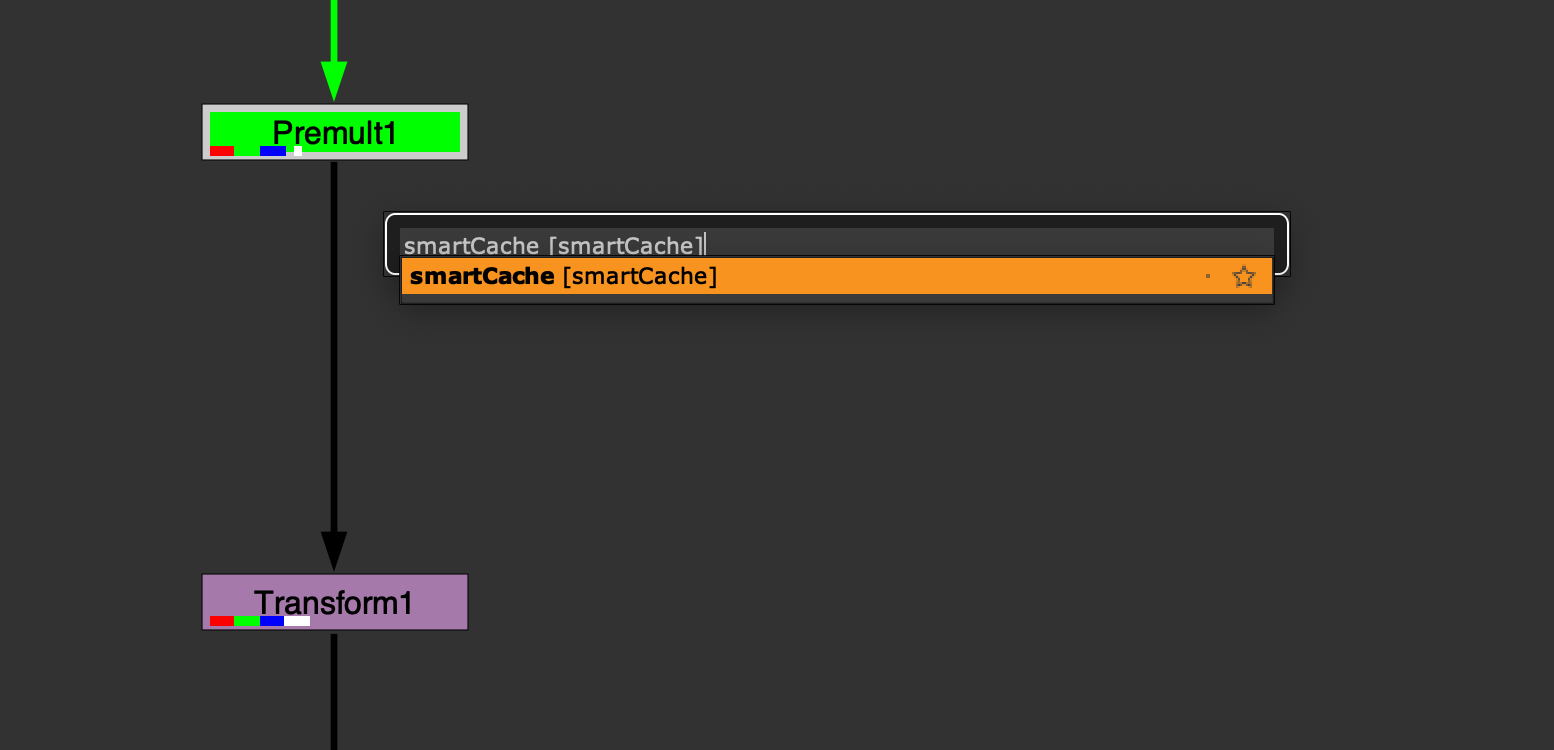
Let’s make our working file faster by caching elements before adding them to
our B-Pipe. Caching is pretty simple. Select the Premult1 node, hit tab
and enter smartCache:
The smartCache node gets created and since you selected a node, it got automatically connected into our pipe and the render dialog shows up, ready for rendering.
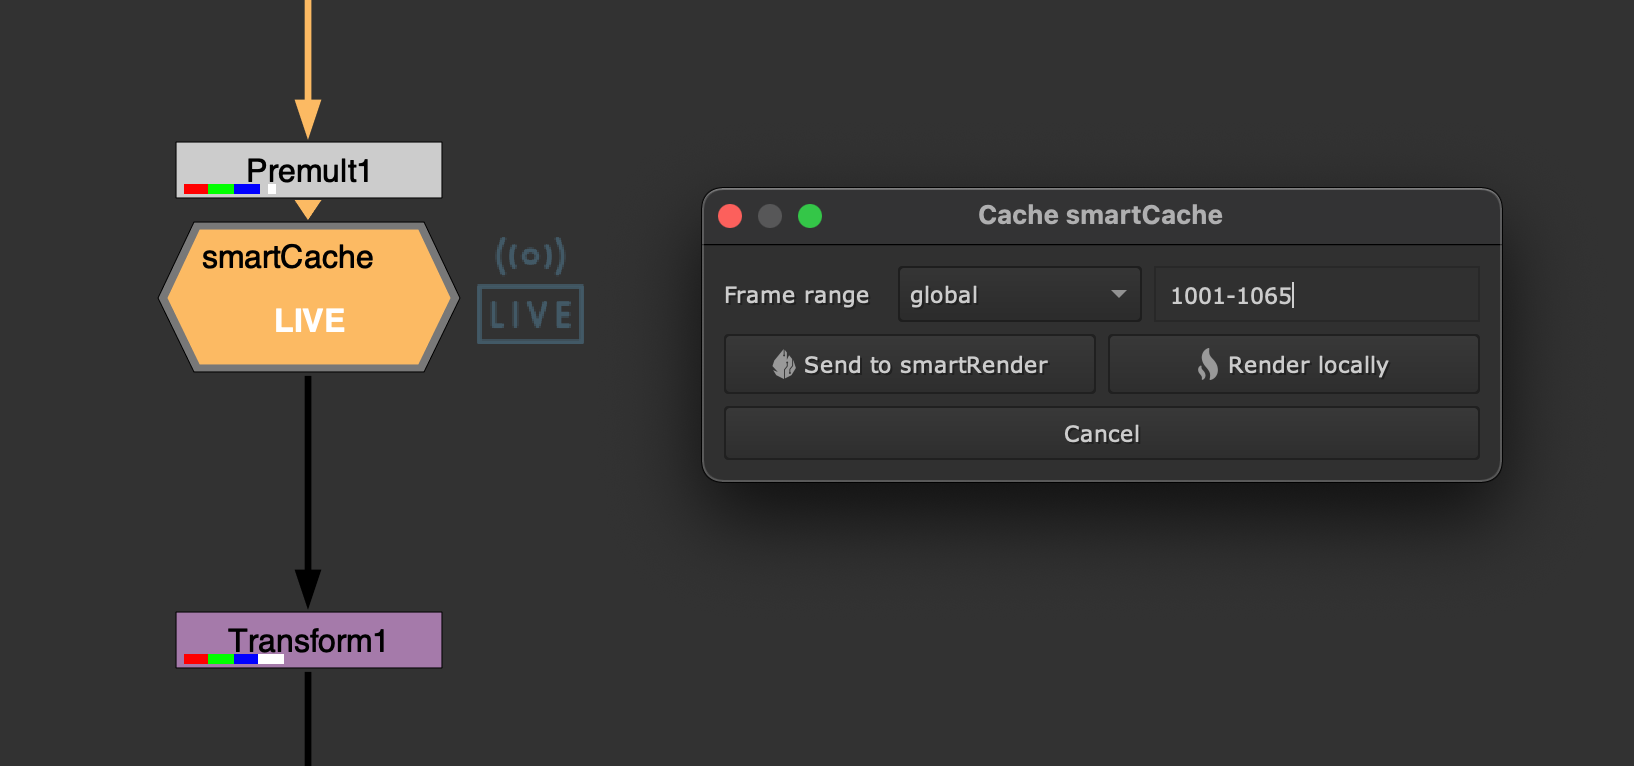
In the dialog choose the frame range to render. Choose from global (global
framerange), input (the frame range of the upstream source) or custom.
You can choose to render the cache node in the foreground or multi threaded
in the background using smartRender
(given you have smartRender installed on your machine). Click the
Render locally button for now.
Once the rendering has finished, the cache node will automatically switch itself to cached state, so that your working file reads now the cached version.
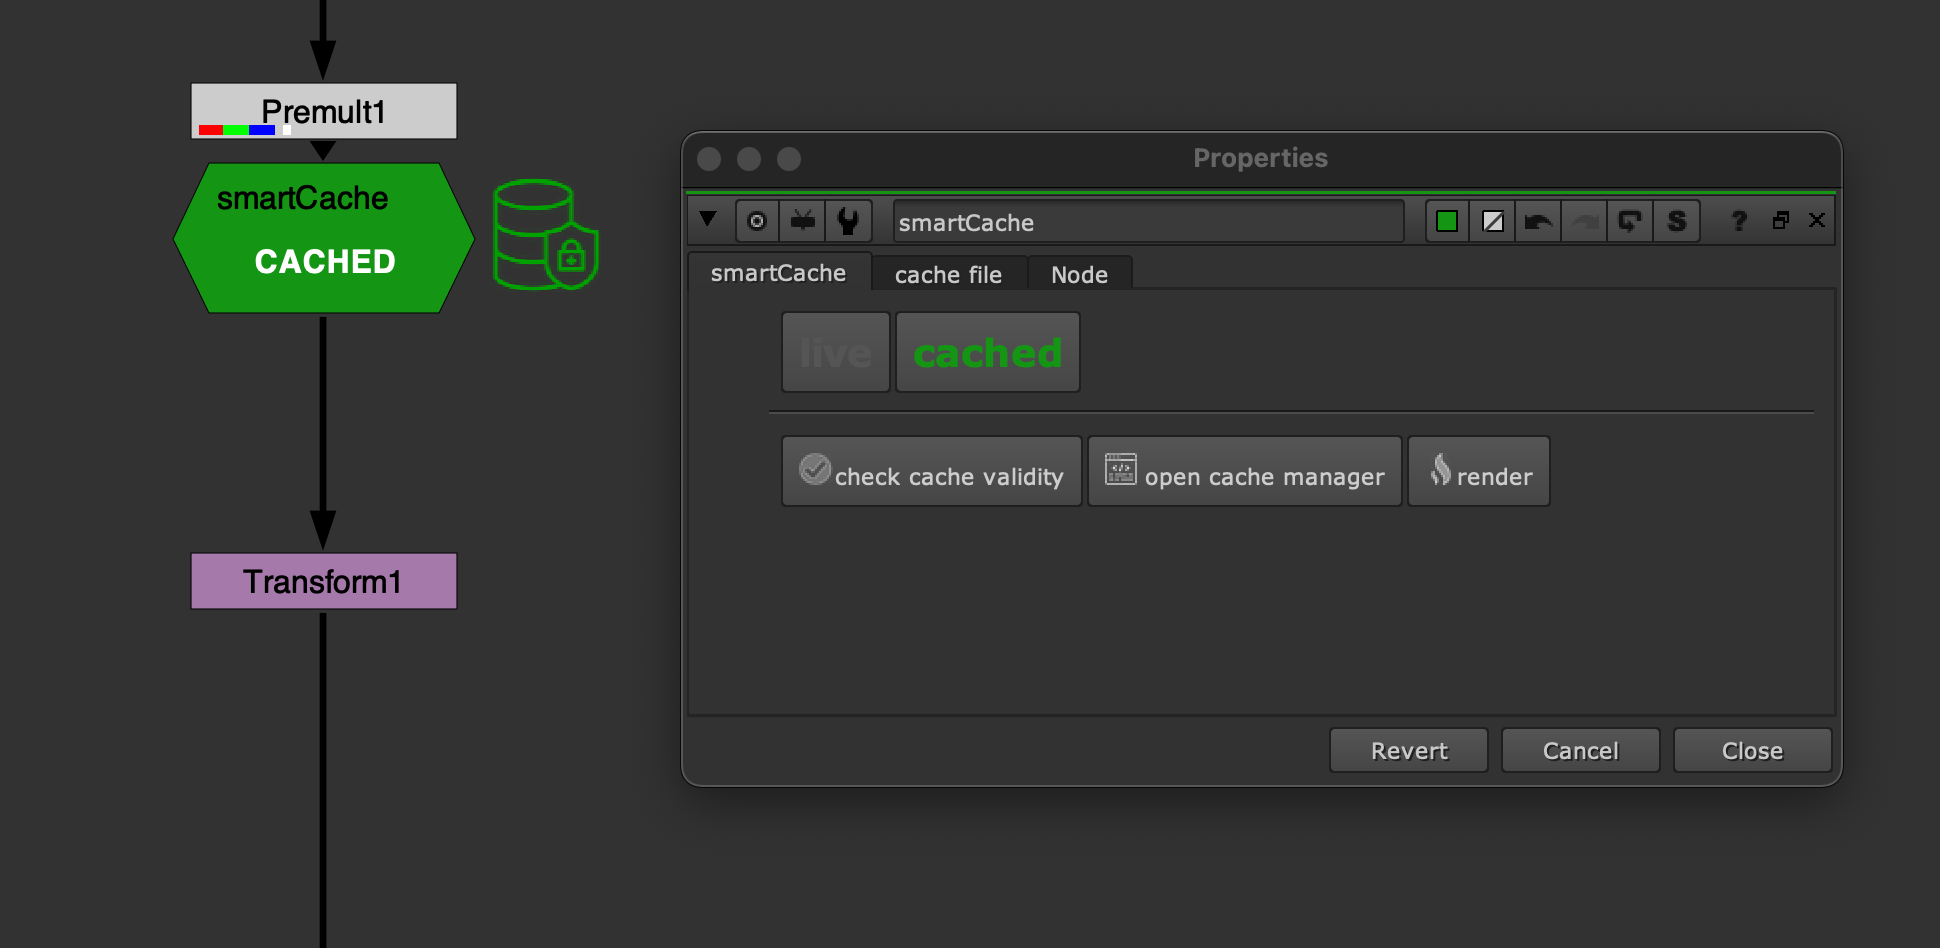
You can easily switch back to reading from the live node connection by clicking
the live button.
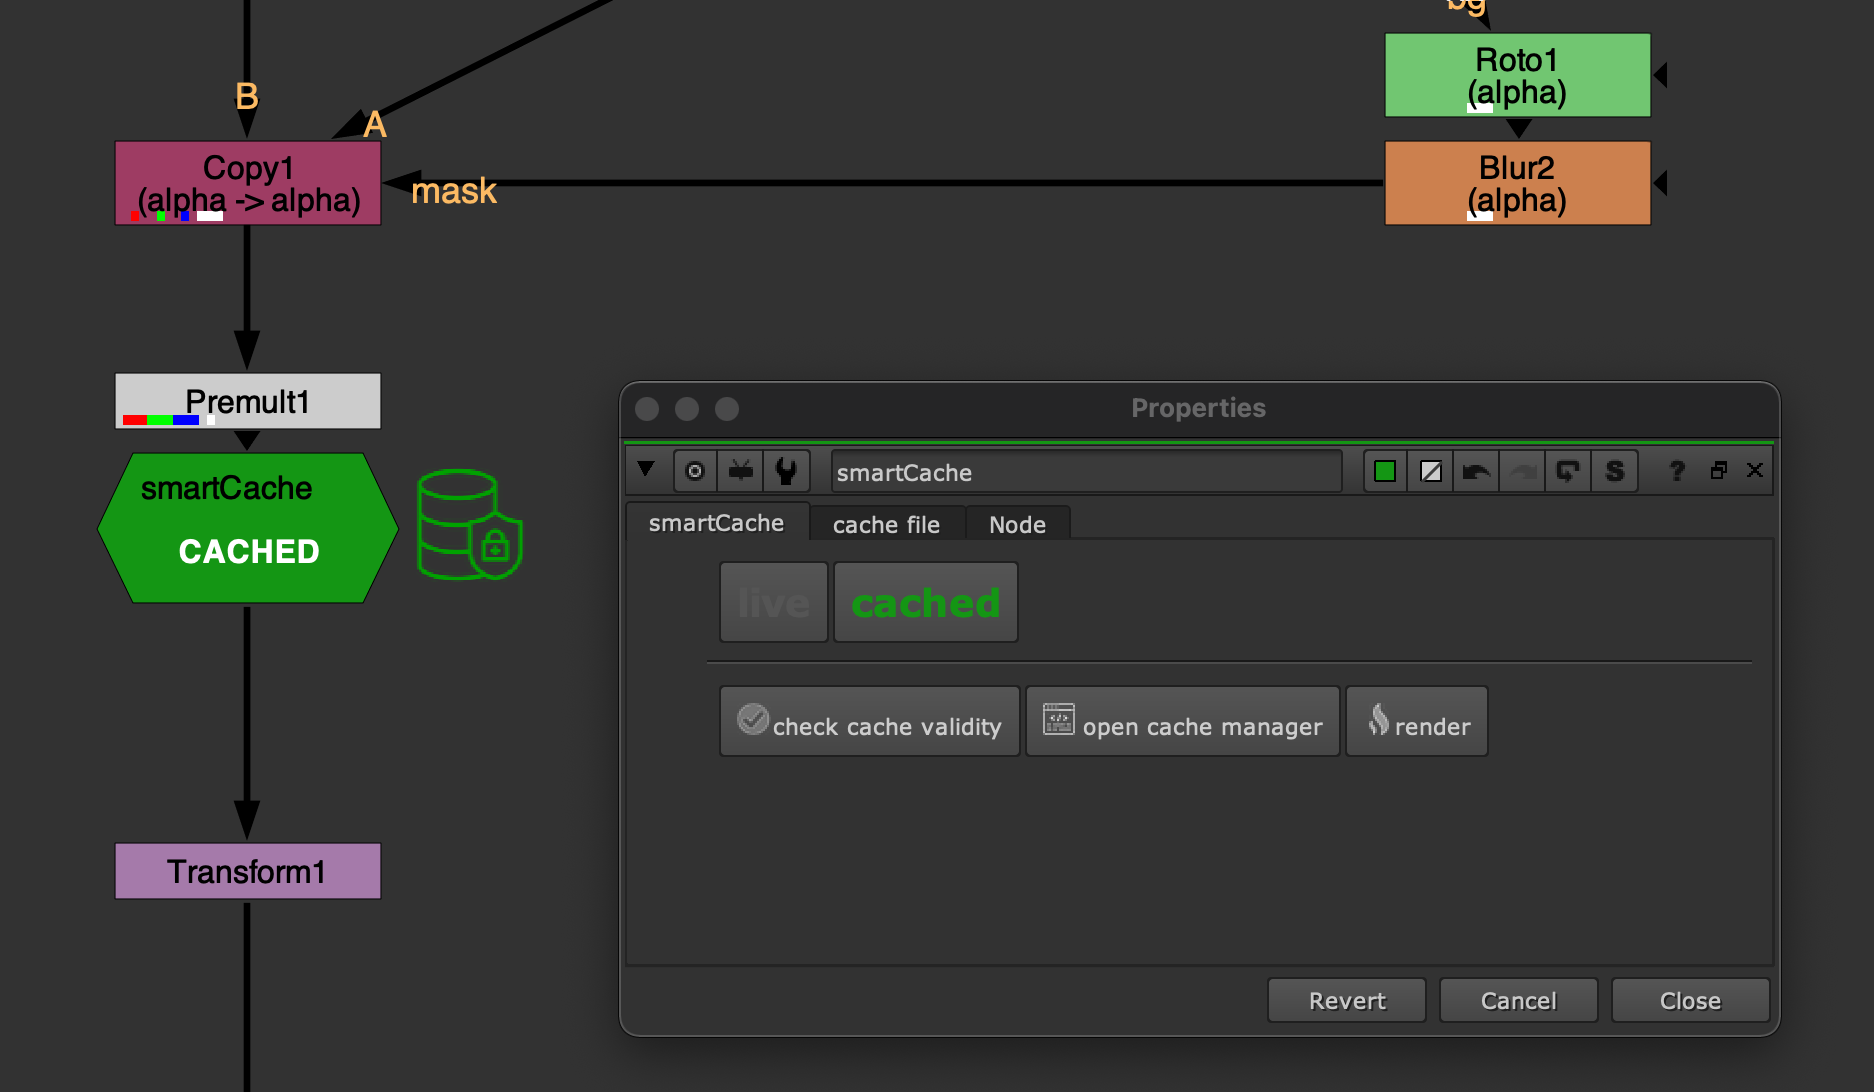
Let’s also cache our Premult2 node in our working file, so everything
upstream from that node is cached as well. Select the Premult2 node and
create a cache node. Besides using the tab key we can also find it in the
nodes menu:

Alternatively, use the shortcut Shift+C.
Set up the frame range to render as needed. If you have smartRender installed on your machine then click Send to smartRender button. The rendering gets sent to smartRender in the background while you can continue working without being blocked. The current render progress can be seen at the bottom left.

Once the rendering has finished, that cache node will also automatically be
switched to cached state.
Let’s say we need to tweak some frames for our first element. Navigate back to
that section and adjust our Grade3 node. Let’s say up to
Frame 1005 we need a different gain as the lighting changes over time. Set a
key frame on 1006 to hold the value after the fact… and another one on frame
1005 and adjust the gain to your needs. So now we have different values on
frames 1001 up to 1005. And we need another fix on another frame, let’s say
1015. Adjust the size to your needs. Once we are done with our tweaking, open
the properties for the smartCache node by clicking the
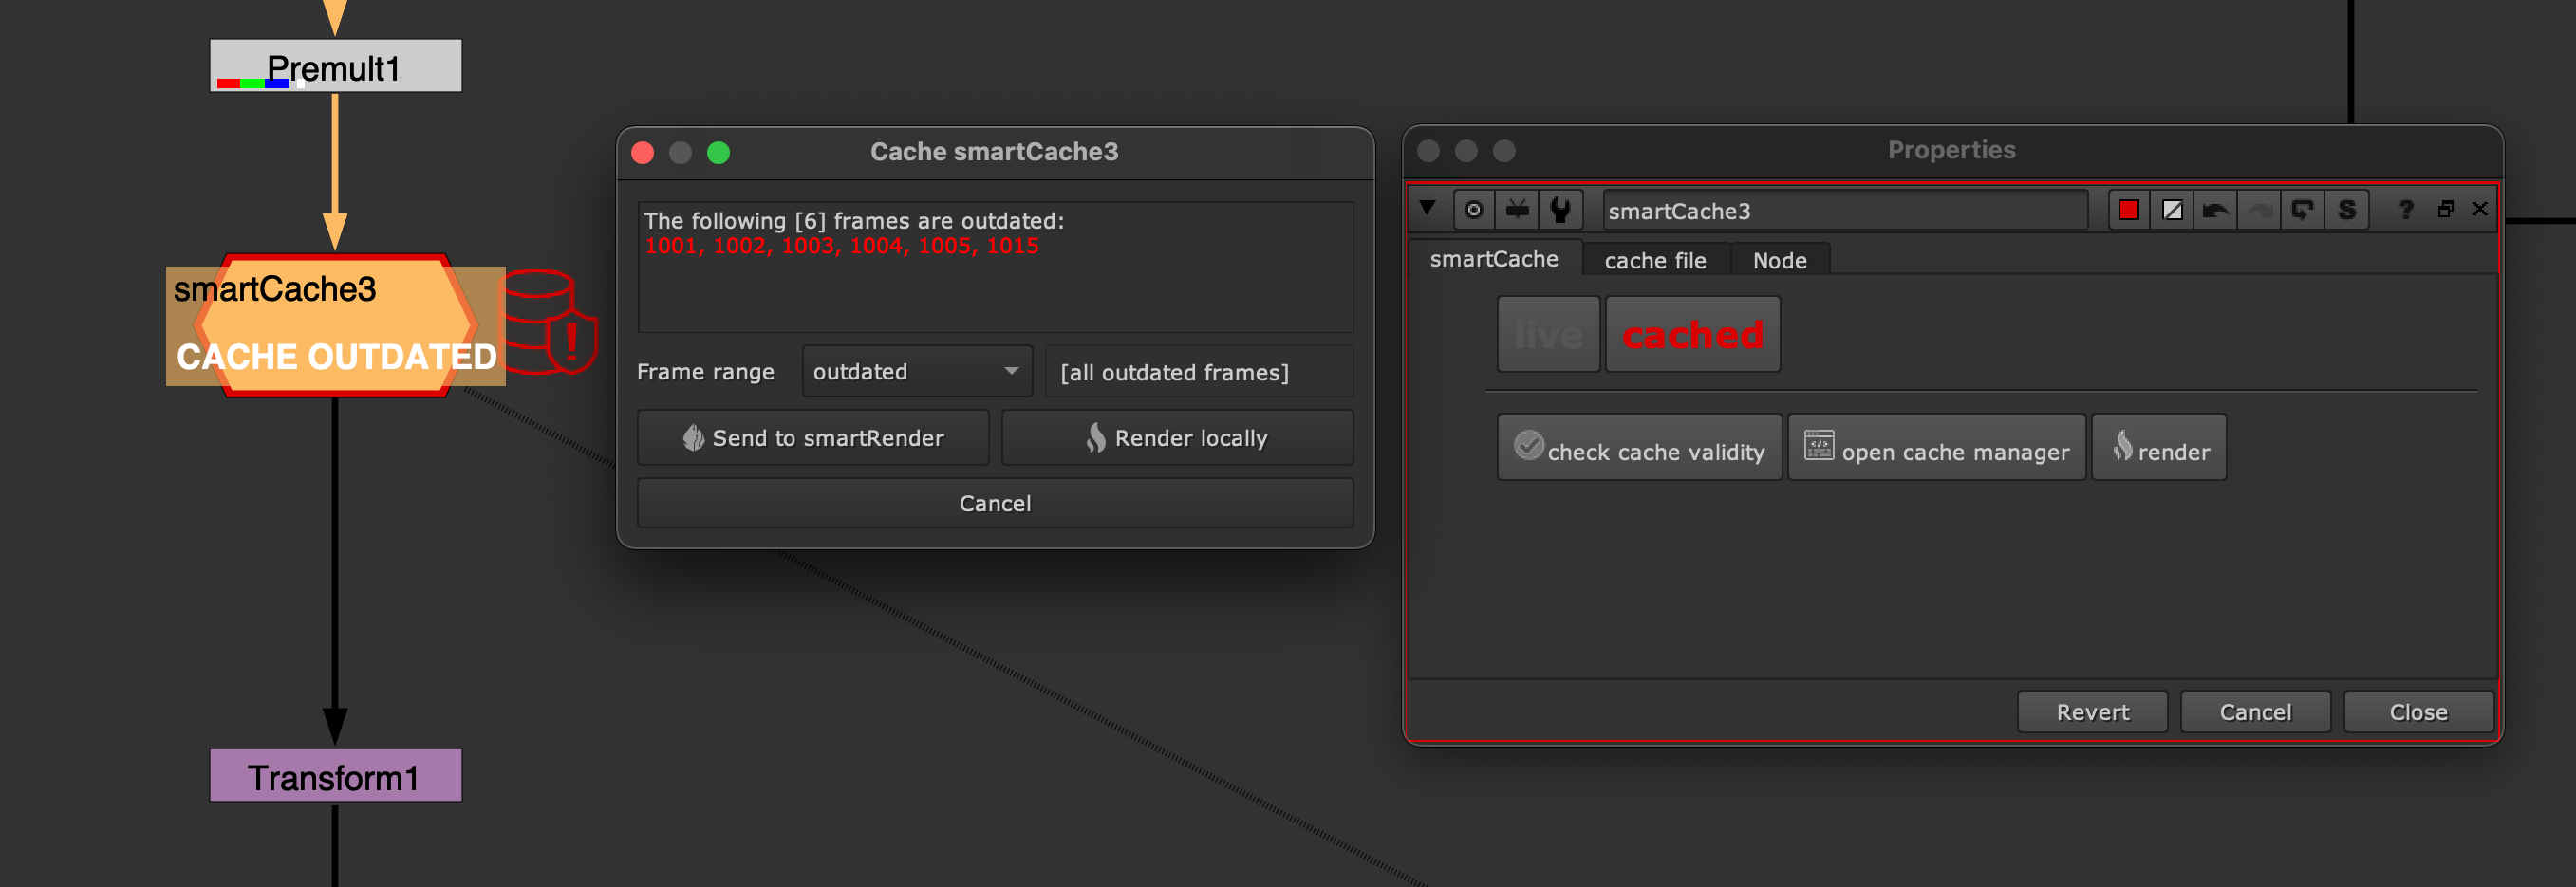
check cache validity button. smartCache detected changes on these frames,
so 1001-1005 and 1015 and switches to out of date mode. It offers you the
previously seen render dialog, now reporting the frames that have changed. The
frame range option is automatically set to [all outdated frames] to render
only what went out of date. Click the Render locally or
Send to smartRender button to render your out of date frames.
The cache for Premult1 is now up to date on all frames again.
If you add additional nodes or remove some nodes and check the cache validity then this affects the whole frame range of course which you can re-render easily. Undoing these steps brings our cache back to an up to date valid state.
Note that there are certain nodes and knobs you can change upstream which will not affect the cache validity. As an example, changing any node position does not break anything. Also creating Dot nodes or NoOp nodes in between any upstream node connection. Also setting label information. etc. The exact nodes and knobs to ignore from the hash check sum of your caches can be configured in the smartCache settings under the ‘ignore’ tag. For more information on the smartCache settings please have a look at the settings page.
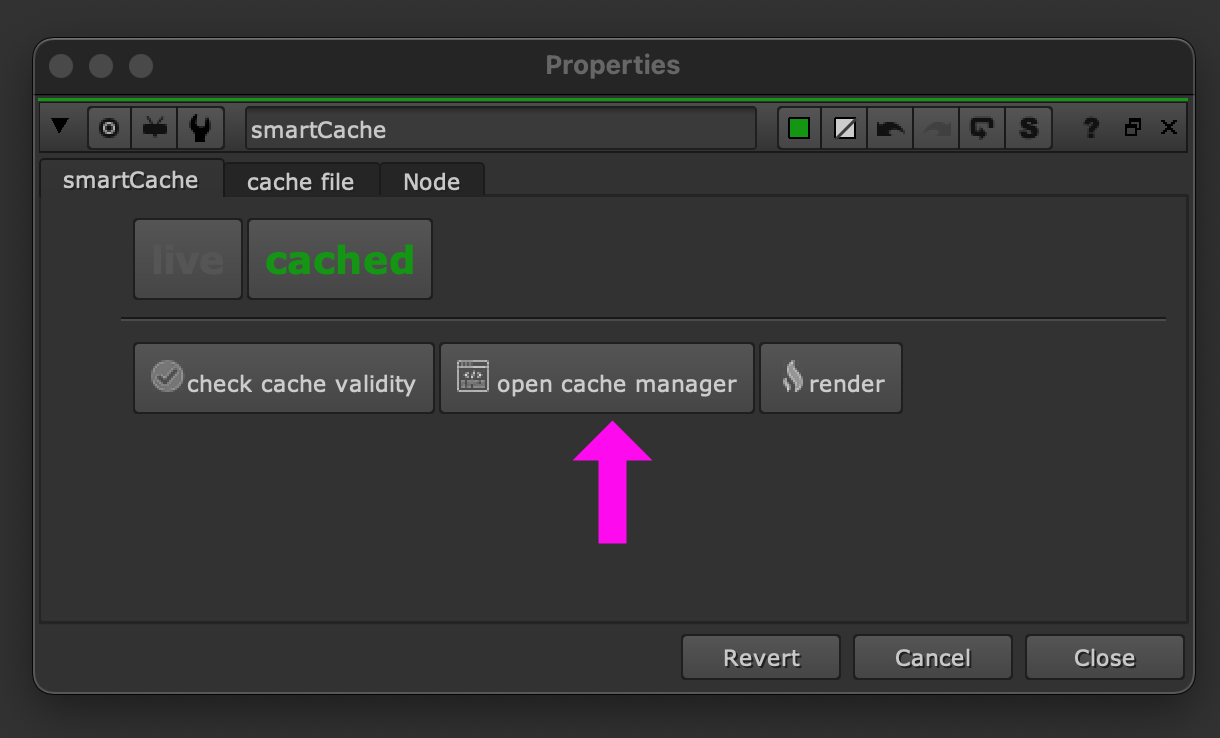
smartCache also offers a caching manager to view all caches in your current working file. The caching manager can be launched straight from any smartCache node by clicking the open cache manager button:
Alternatively, you can also launch the cache manager from the menu bar:
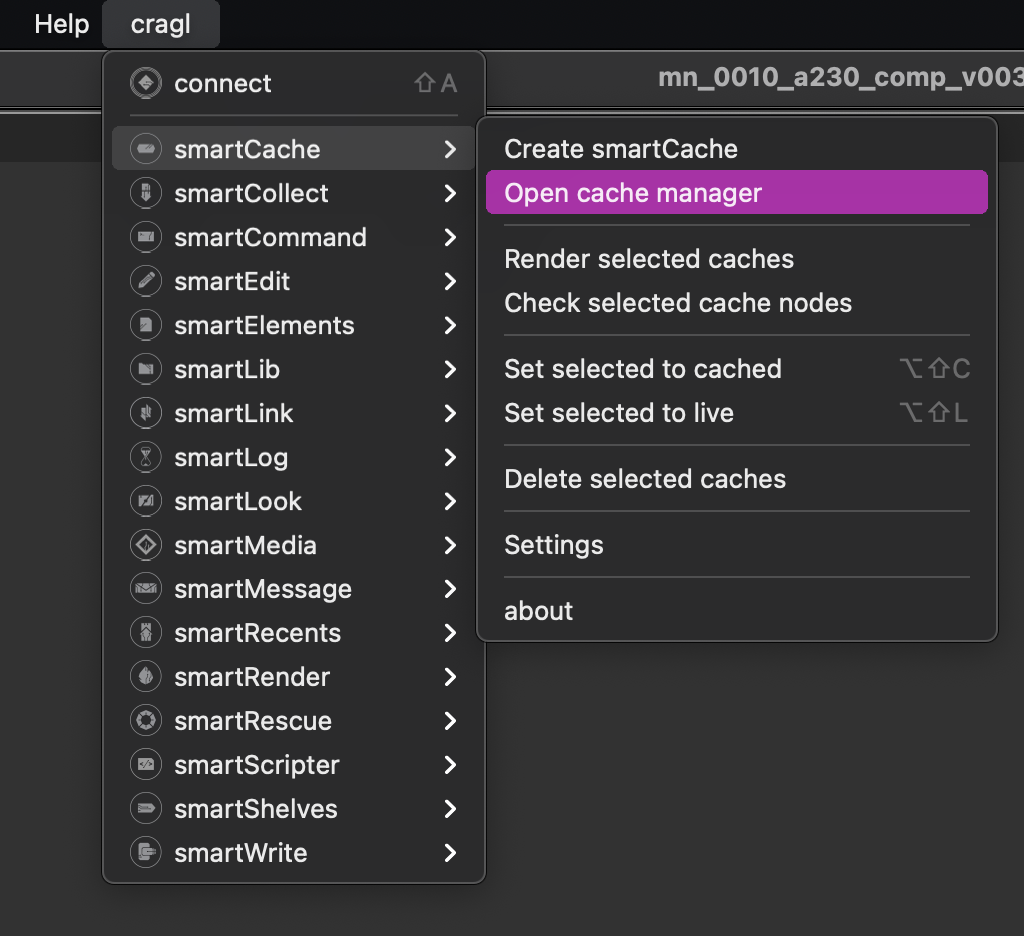
The cache manager shows you all cache nodes in your working file:
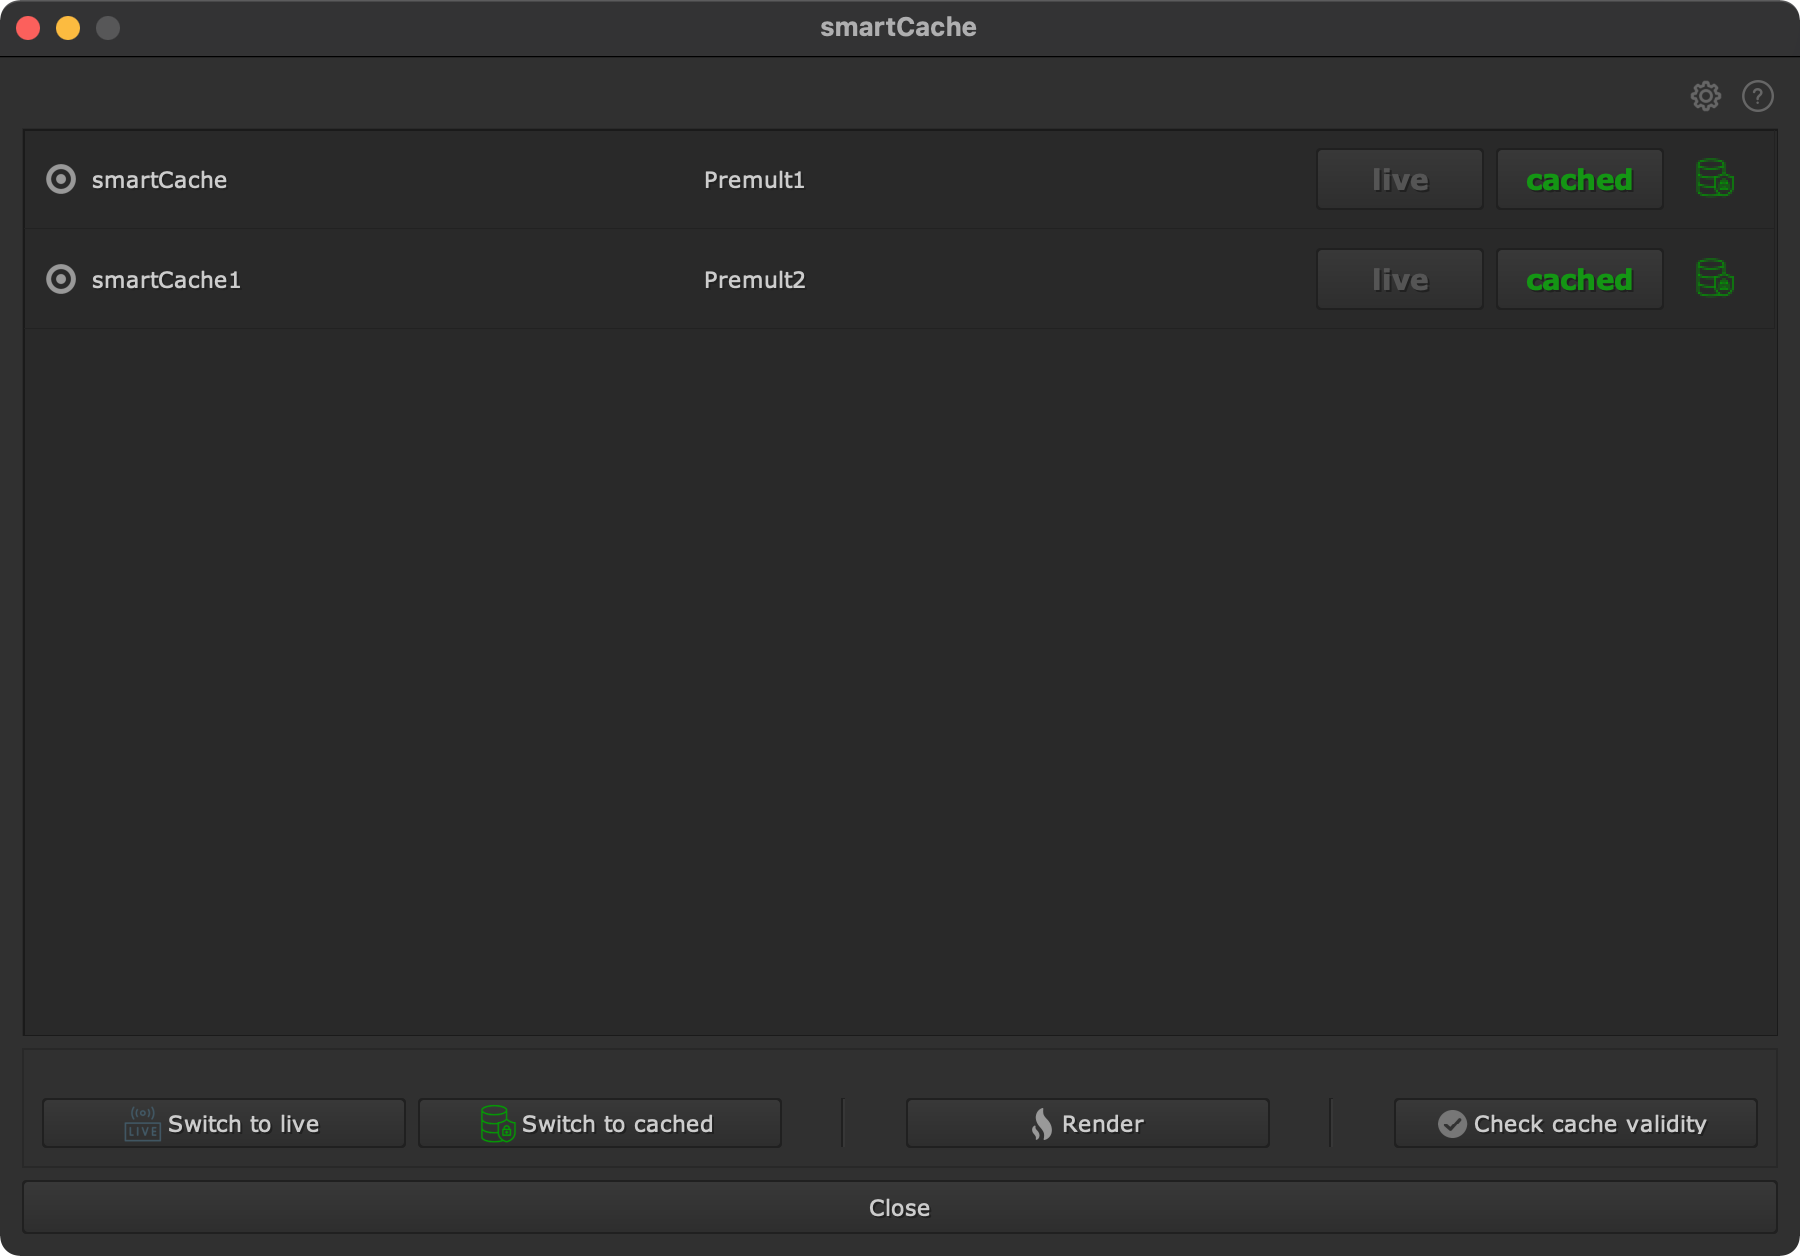
In here you can select one or many cache nodes and switch them to live/cached mode as needed, render them and check their cache validity. Select a cache in the table and press F or enter or simply double click a row to jump to the cache node in your DAG.
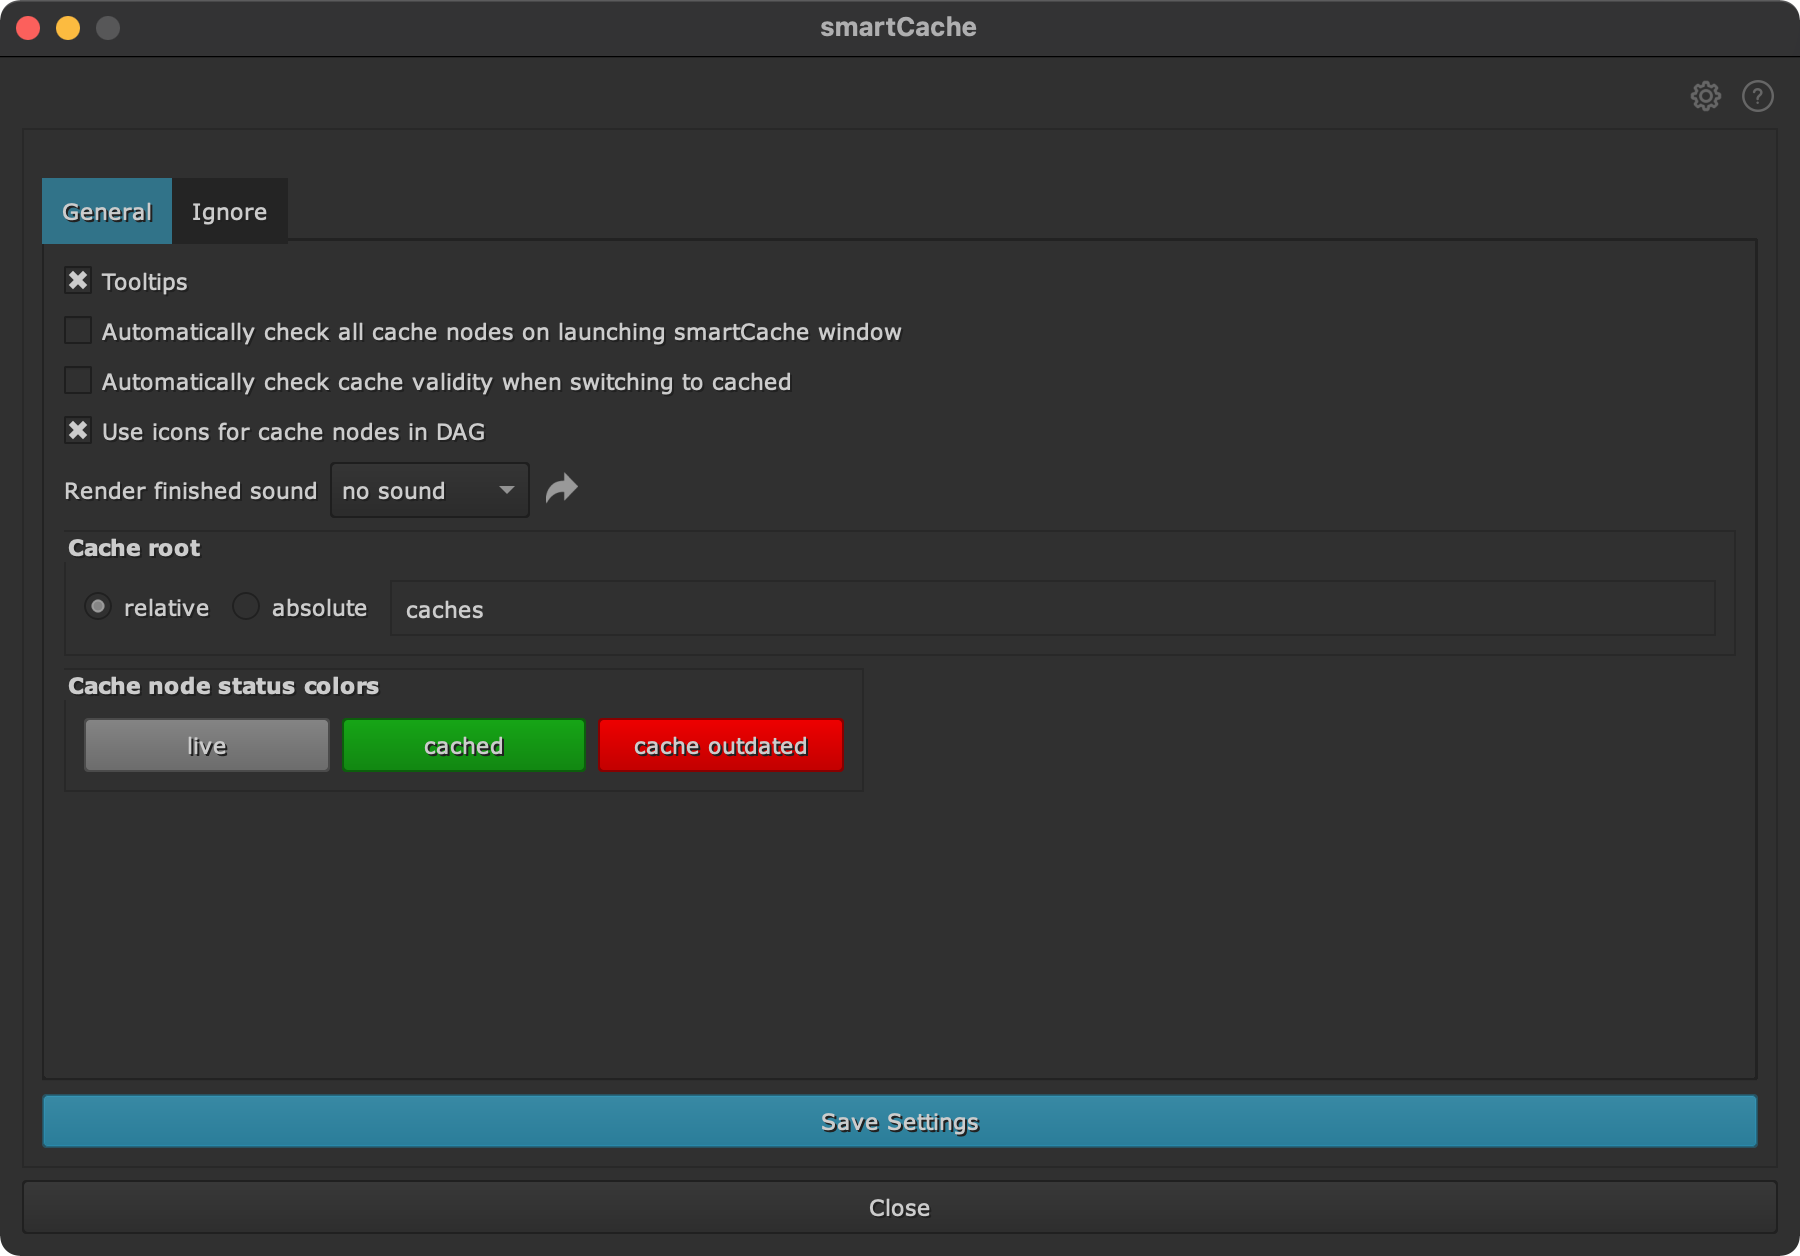
At the top right click the settings button to access the smartCache settings. In here you can adjust smartCache to your needs.
Here you can check the cache validity on all cache nodes once you launch the cache manager. You can define a render finished sound or use your own custom sounds. You can also configure where to cache to. By default, smartCache caches to a ‘caches’ folder next to your current working file, but you can adjust that here to a different relative or an absolute path. You can also set the cache status colors to your needs. And as mentioned previously you can adjust the nodes and knobs to ignore from the hash sum creation to define when exactly a cache should go out of date.
For more information on the smartCache settings please have a look at the settings page.